
Picture this: It’s Friday night, your friends are online, and your controller’s vibrating with anticipation. You hit the power button on your console—nothing. No lights, no sound, just a sinking feeling in your gut. If you’ve ever faced this, you know gaming console repairs aren’t just about fixing hardware. They’re about saving memories, friendships, and those hard-earned high scores. Let’s break it down: whether you’re a casual player or a die-hard collector, knowing how to handle gaming console repairs can mean the difference between a quick comeback and weeks of frustration.
Why Gaming Console Repairs Matter
Gaming consoles aren’t just boxes of wires and plastic. They’re time machines, stress relievers, and social hubs. When they break, it’s personal. If you’ve ever lost progress in a game because your console froze mid-boss fight, you know the pain. But here’s the part nobody tells you: most gaming console repairs are easier than you think. You don’t need a degree in electrical engineering—just a little patience, the right tools, and a willingness to learn from mistakes.
Common Console Problems (And What Causes Them)
Let’s get specific. Not all gaming console repairs are created equal. Some issues pop up so often, they’re almost a rite of passage:
- Power issues: Console won’t turn on, random shutdowns, or blinking lights.
- Disc read errors: The dreaded “unreadable disc” message, grinding noises, or games that freeze during loading.
- Overheating: Console feels hot, fans sound like jet engines, or you get warning messages.
- Controller problems: Drift, unresponsive buttons, or lost connections.
- HDMI/AV issues: No video, weird colors, or static on the screen.
Here’s why these happen: dust, wear and tear, power surges, and sometimes, just bad luck. But most of these gaming console repairs start with simple fixes. Don’t panic—start with the basics.
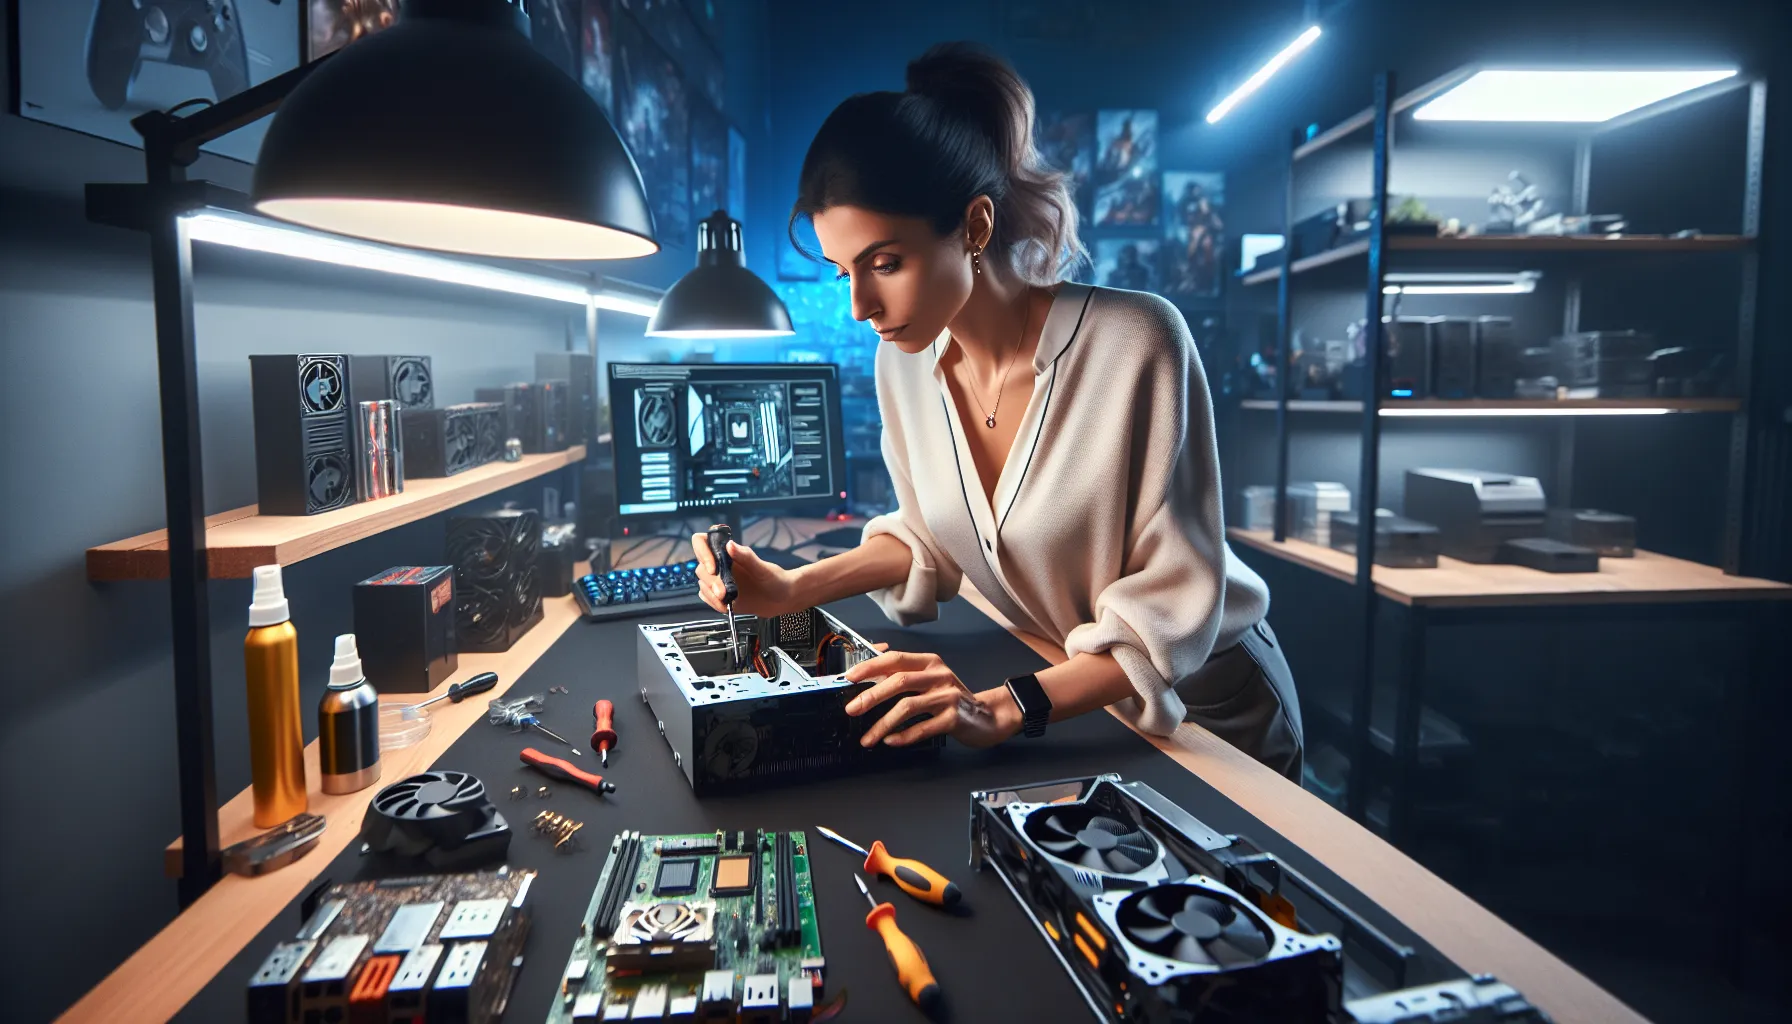
DIY Gaming Console Repairs: What You Can Fix at Home
If you’re handy with a screwdriver and not afraid to get your hands a little dirty, you can tackle many gaming console repairs yourself. Here’s what you can try before calling in the pros:
1. Power Problems
First, check the obvious. Is the power cable plugged in? Try a different outlet. If your console uses a power brick, look for lights—no light means it’s probably dead. Replacement power supplies are cheap and easy to swap.
2. Disc Read Errors
Wipe the disc with a soft cloth. Still not working? Open the disc tray and blow out dust with compressed air. If you hear grinding, the drive might be misaligned. That’s trickier, but YouTube is full of step-by-step guides for most models.
3. Overheating
Move your console to an open space. Clean the vents with a brush or compressed air. If it still overheats, the thermal paste inside might need replacing—a messy but doable job if you’re patient.
4. Controller Issues
For stick drift, try recalibrating in your console’s settings. If that fails, open the controller and clean around the analog sticks. Replacement parts are cheap online, and swapping them is easier than you’d think.
5. HDMI/AV Problems
Swap out the cable. Try a different TV input. If you see bent pins in the port, you can sometimes straighten them with a toothpick. If the port is loose, you’ll need to solder—a job for the brave or the experienced.
When to Call a Professional
Here’s the truth: not every gaming console repair belongs on your kitchen table. If you smell burning, see smoke, or hear loud pops, unplug everything and step away. Water damage, motherboard failures, and broken solder joints usually need a pro. If your console is under warranty, don’t open it—send it in. Most manufacturers will void your warranty if you break the seal.
What to Expect from Professional Repairs
Professional gaming console repairs can cost anywhere from $50 to $200, depending on the problem and the console. Shops usually offer diagnostics for free or a small fee. Ask for a quote before agreeing to anything. Good repair shops use genuine parts and offer warranties on their work. If a shop can’t explain the problem in plain language, walk away.
How to Prevent Future Console Problems
Prevention beats repair every time. Here’s how to keep your console running smoothly:
- Keep it on a hard, flat surface with plenty of airflow.
- Clean vents and fans every few months.
- Use a surge protector to avoid power spikes.
- Don’t eat or drink near your console—spills are a nightmare.
- Update your system software regularly.
These small habits can save you hundreds in gaming console repairs down the line.
Who Should (and Shouldn’t) Attempt DIY Repairs?
If you love tinkering, have a steady hand, and don’t mind a little risk, DIY gaming console repairs can be rewarding. You’ll save money, learn new skills, and maybe even impress your friends. But if you get anxious around tiny screws or hate following instructions, it’s okay to call for help. There’s no shame in letting a pro handle it—especially if your console is rare or expensive.
Lessons Learned: Real Stories from the Repair Trenches
I once tried to fix a friend’s PlayStation 4 that wouldn’t read discs. I watched three videos, bought a $10 toolkit, and spent two hours sweating over tiny screws. I fixed the drive, but I lost a spring in the carpet. The disc tray never quite closed right again. Lesson learned: keep your workspace organized, and don’t rush. If you’ve ever had a repair go sideways, you’re not alone. Every mistake is a step closer to mastery.
Next Steps: Your Console, Your Call
If you’re staring at a dead console right now, don’t give up. Start with the basics, try a few simple fixes, and don’t be afraid to ask for help. Gaming console repairs aren’t just about saving money—they’re about keeping the fun alive. Whether you’re a weekend warrior or a competitive gamer, you deserve a console that works when you need it. So grab your tools, take a deep breath, and remember: every great gamer started as a beginner.